|
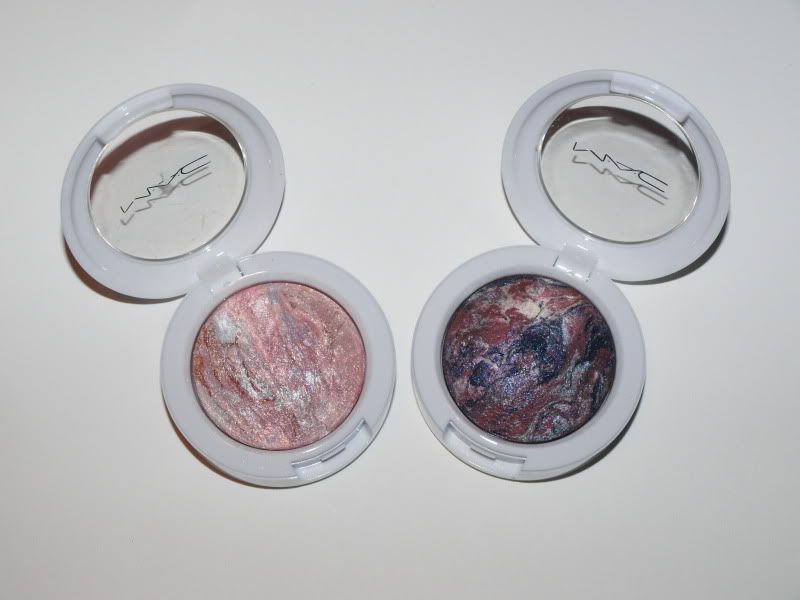
| L-R: 187SE, 130SE, 282SE, 286SE |
Packaging
The outer box is white with silver foiling all over it which resembles ice skating marks on the ice with a spotlight beaming down in the middle. The bag is quite tacky, it is clear plastic with a silver circle glued onto the side. I don't understand the point of the stuck on circle. To me the bag looks silly and unfinished. I found the zip really stiff and hard to open and the long piece of plastic attached to the end of it makes it even harder to open. All of the brushes have clear handles filled with silver glitter. I quite like the handles and think they are really pretty.
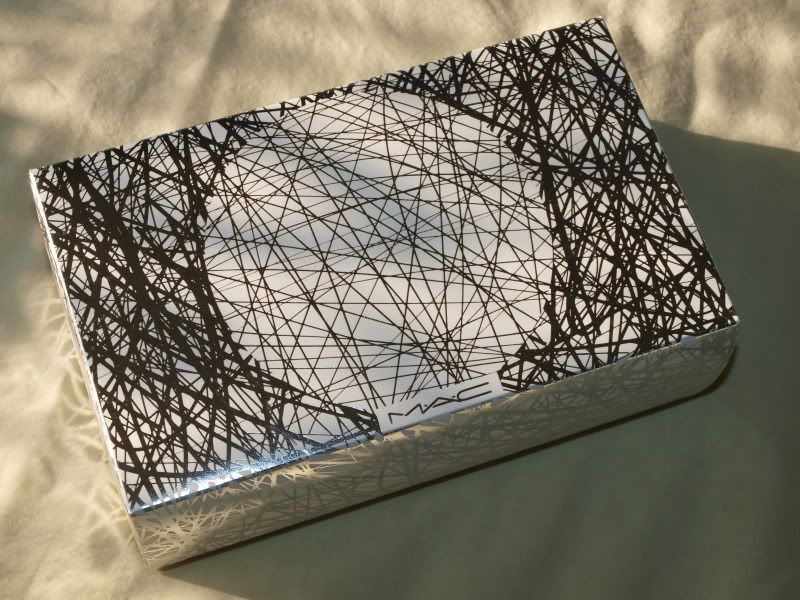 |
| Outer box |
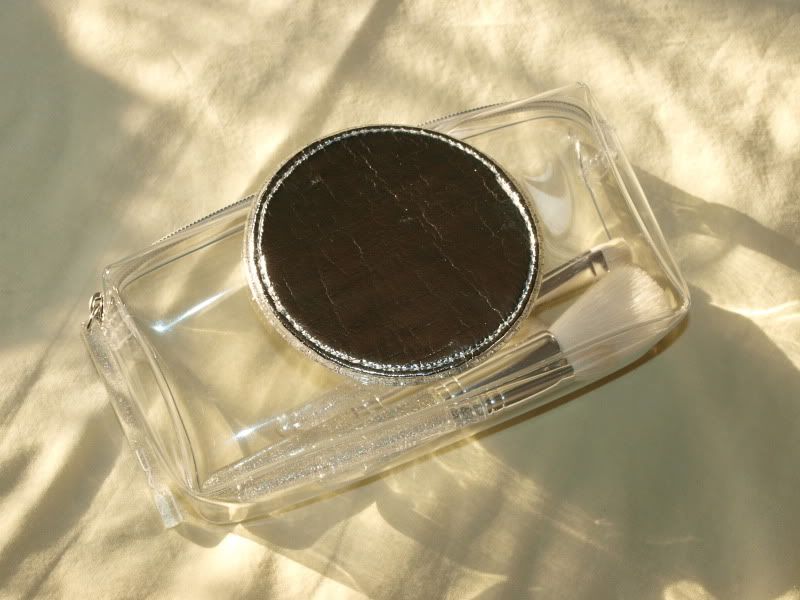 |
| Clear bag (different brush set inside pictured) |
The 187 is one of my favourite brushes from MAC but it is bulky and impractical for travelling as it doesn't fit into a standard sized make up bag. I thought the smaller one would be perfect for weekends at my boyfriend's house. So not the case...
First impressions, it is less dense than the full size and the white fibres feel different - thinner and not as soft. The black and white fibres are blended together through the brush more than my full size one so it doesn't really give that duo fibre feel where the fibres split apart as you use it. It is hard to explain but if you get hold of a full sized 187 and swirl it in the palm of your hand you will see what I mean. I was not too bothered about these things, as I mentioned, I knew it wouldn't be the same as it should. In use it isn't that bad, it doesn't perform as well as a regular 187 but it does the job.
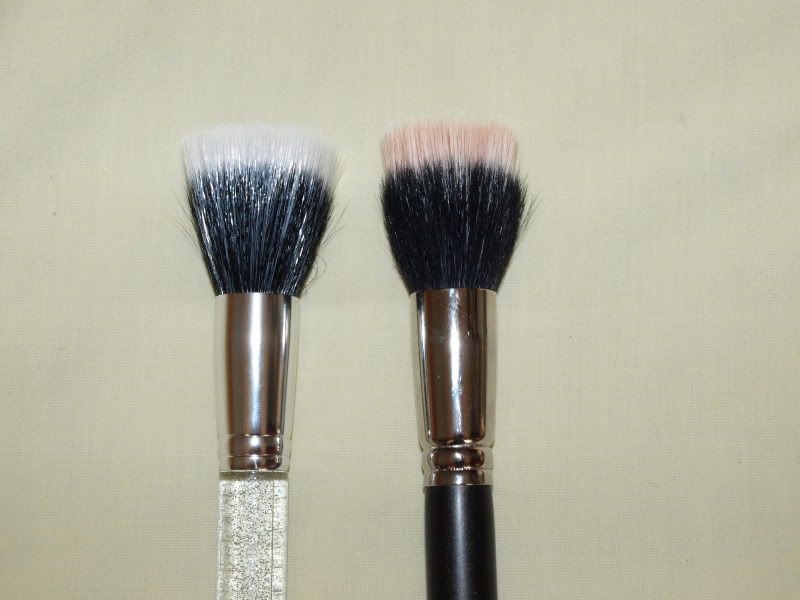 |
| L-R: 187SE, 187 regular (sorry about it being dirty!) You can see how in the full size version the bristles split apart but in the SE version, they are more blended. |
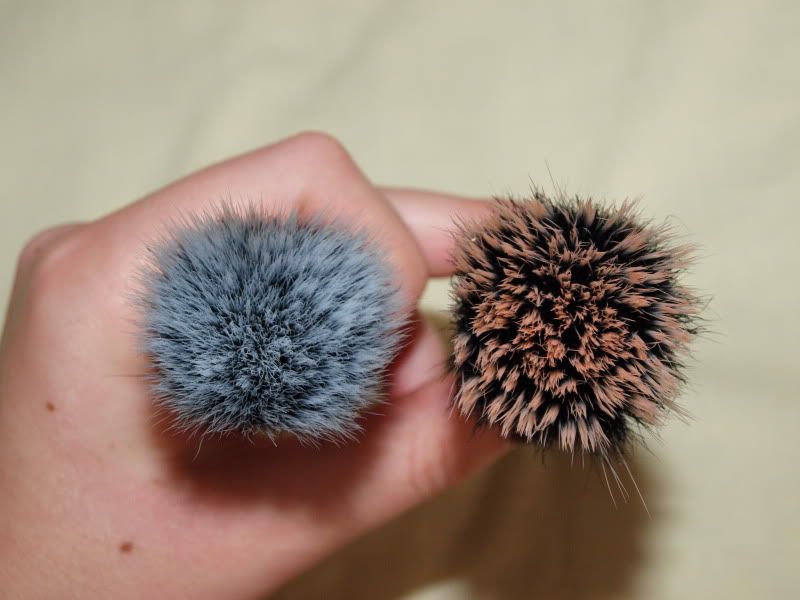 |
| L-R: 187SE, 187 regular |
130SE
I don't own the full size 130 brush so can't compare the shape, density etc. In use, I really liked this. It is brilliant for applying cream highlighter such as my Illamasqua Lies blush which I rarely used before but now have a great brush to use it with. It works really well at stippling the colour and softly blending for a soft focus finish. Such a good brush.
However... this brush also has a dark side. It also had leaking dye issues and left the bristles very green tinged. It didn't shed like the 187SE though which was good, although it did occur. I may buy a full size of this brush though because I loved how it worked but don't want the issues.
282SE
A new brush from MAC. I'm really not sure on this brush. I just can't seem to find a good use for it. I assume it is to be used with Mineralize Eyeshadows as it came out with a lot of MES but I found it really hard to use. It kicks up the MES all over the place and makes it drop all over my face. I tried using it wet but it didn't apply nicely so tried it wet straight into the pan but it didn't pick up the colour properly. I had to pretty much scrub at the pan to get the colour on the brush. It is also a really big brush so would only work for washes of colour. My eyes aren't big although they're not small either and I find it hard to use in my lid space. Someone with a lot of lid space may find it easier. What I can imagine it being used for is cream products. The dual bristles would be good with emollients and blend nicely. It still isn't ideal for me though due to the size of the brush. I'm not sure if MAC will bring this out in a full size in the future. If they do, it would be nice for them to be clearer on how they perceive it to be used. Again, this brush had issues when washing, it leaked dye so badly, it was the worst of the bunch for leaking.
286SE
Another new brush from MAC. This brush will be released as a full size permanent edition brush with MAC's Naturally collection next year. It is a blending brush and works quite nicely although I still prefer MAC's other blending brushes such as the 217. It has a nicely tapered tip so you can get right into the crease and gently fluff the colour out. It would also work nicely for cream products and be a good addition to MAC's range as they do not have a synthetic blending brush (as far as I know).
It still leaked dye unfortunately.
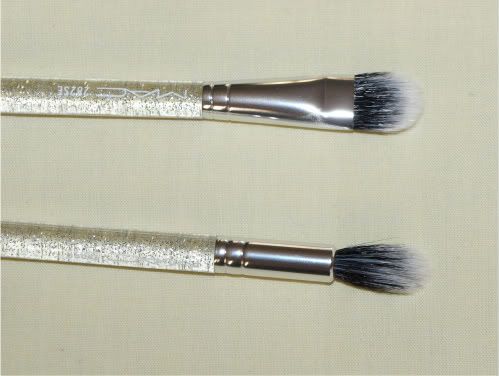 |
| Top: 282SE Bottom: 286SE |
All in all, these brushes STINK. Would I recommend them? Errm... NO!
Jennifer x