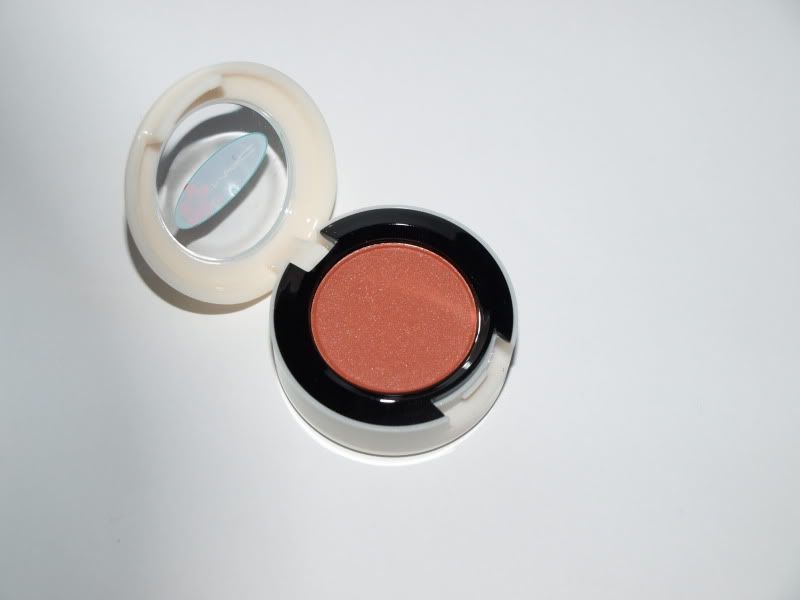
I said I wasn't going to buy them in the first place, they just didn't appeal to me... but then came the swatches... Oh dear, well I completely changed my mind.
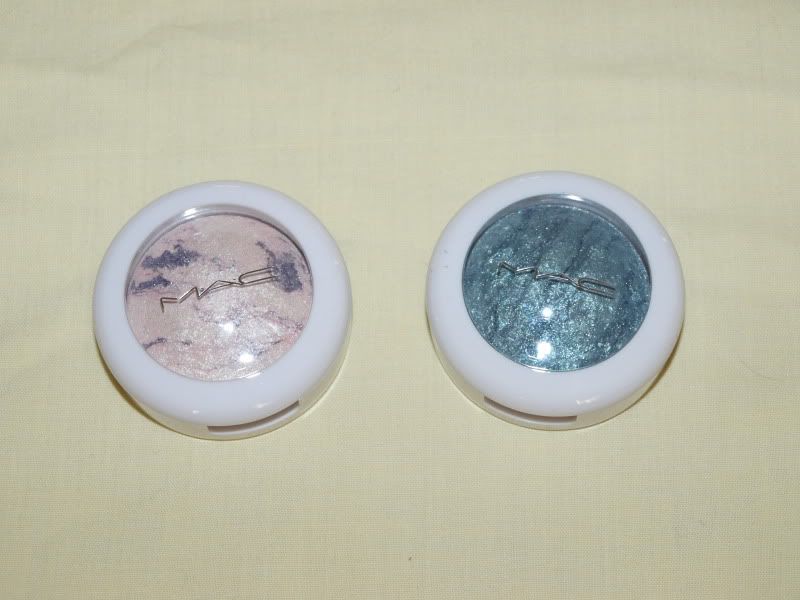
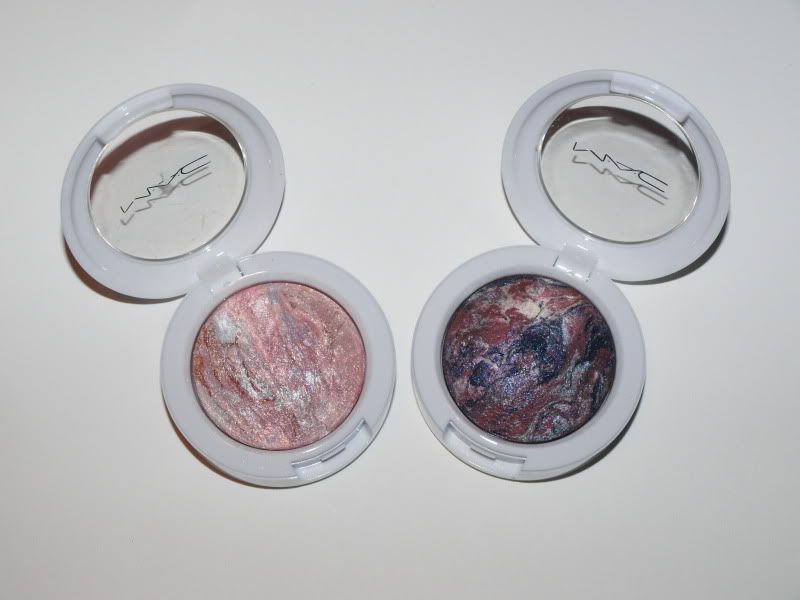
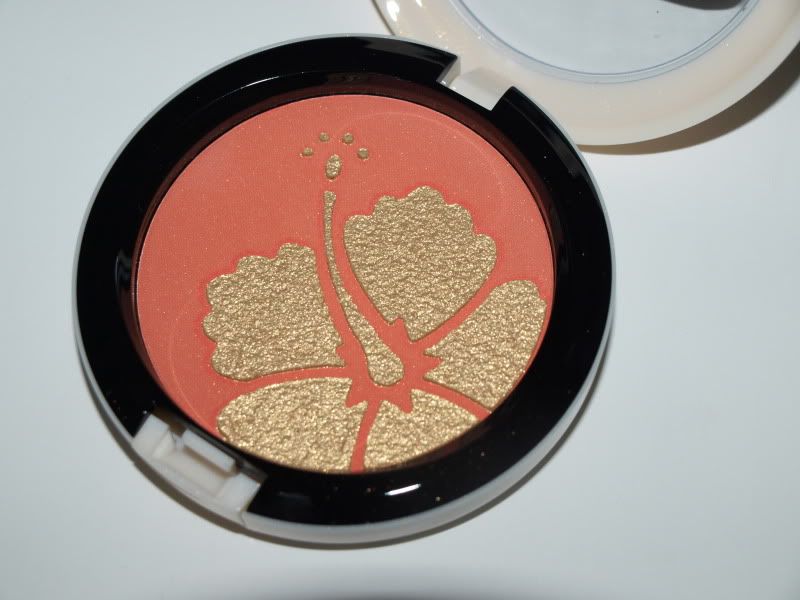
Whilst I was in Tumbridge Wells with my boyfriend a couple of weeks ago, I saw that they had My Paradise in stock. I'd seen numerous bloggers and Youtubers swatching this and it just looked really pretty, not how I'd imagined it. I told myself to stick to not buying it because it has an overspray but then I found out that it was quite thick and when it runs out that Gold Deposit MSF would do as a substitute to put over the blush colour - more about that later. I swatched it on my hand in store and bought it.
 |
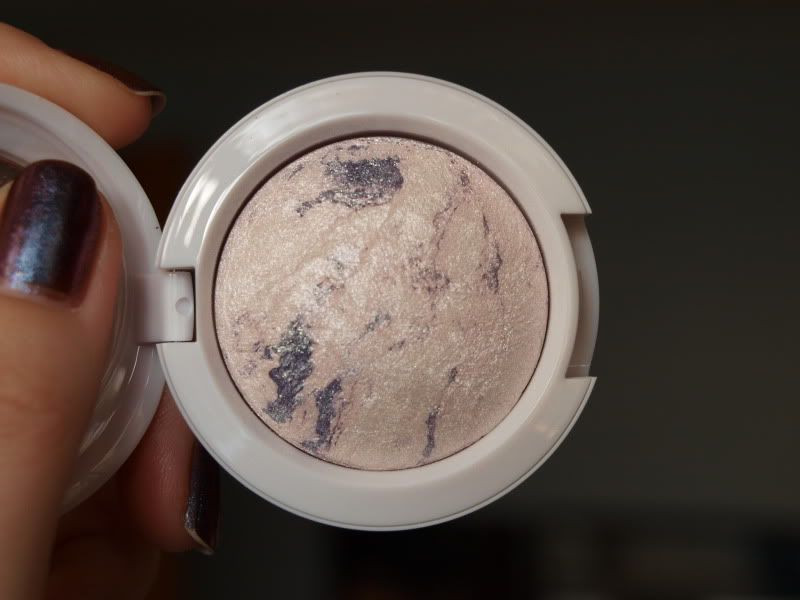
| My Paradise |
 |
| My Paradise |
 |
| My Paradise |
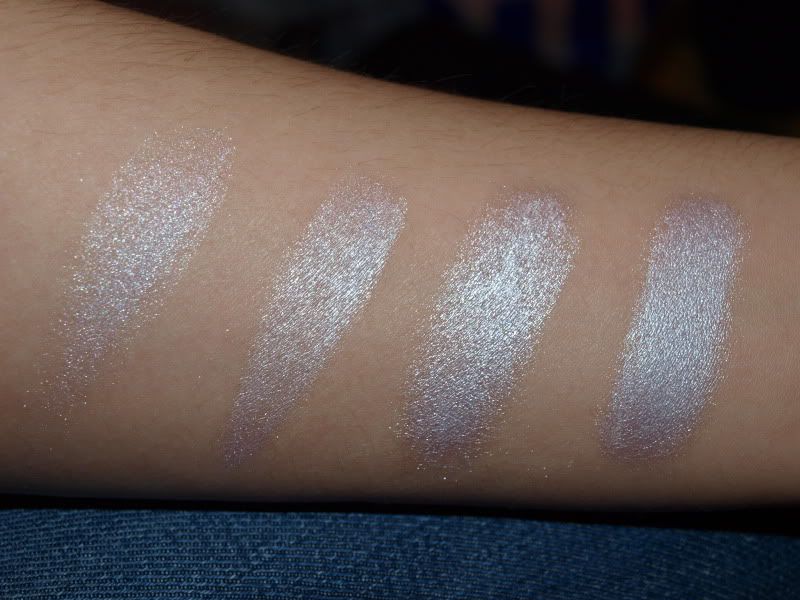
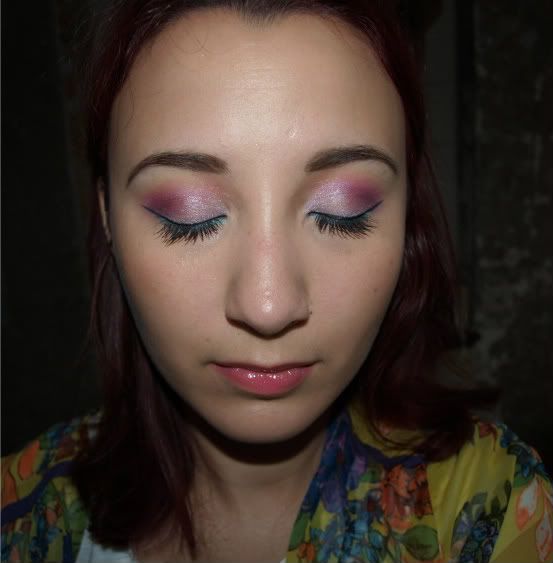
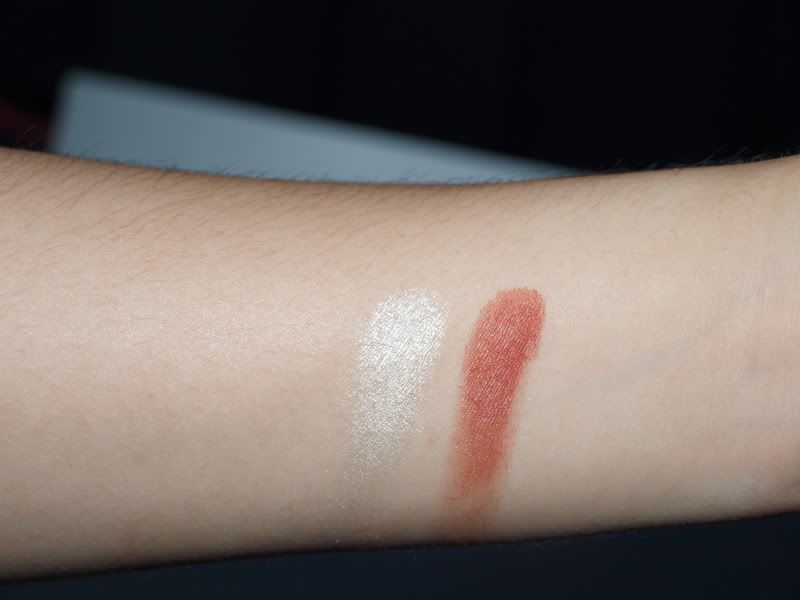
It is a very pretty colour, when mixed with the gold overspray it turns into a gorgeous shimmery golden peach. The blush colour itself is very coral and matte/satin - I'm not sure but there doesn't appear to be shimmer in there. It would be a great colour for Summer skin (well duh, it is a Summer collection lol) and is surprisingly wearable. I've seen it work nicely on fair skin too but it would be worth checking in person. It is sold out online but you might come across it in store. Temptalia has some
dupes listed on her site, NARS Luster appears very close to the mixed blush.
 |
| My Paradise: L-R Base blush colour, overspray colour, mixed, mixed blended |
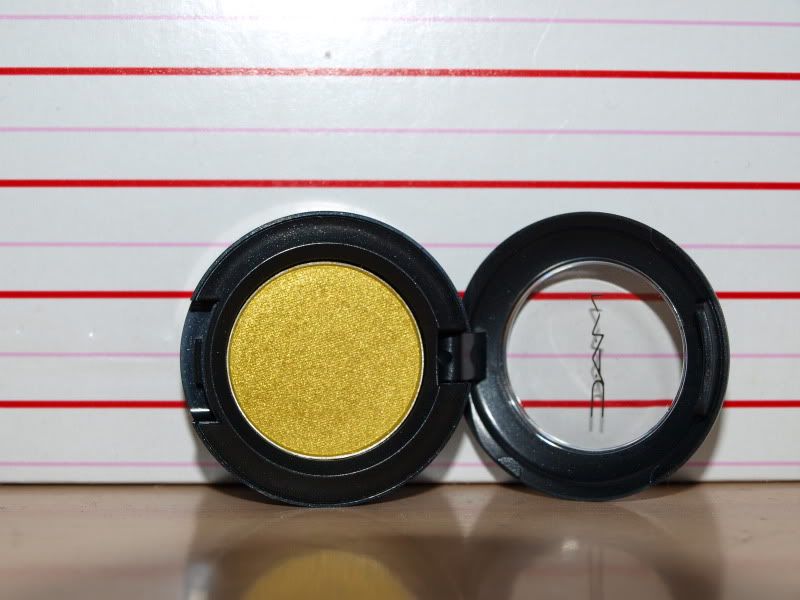
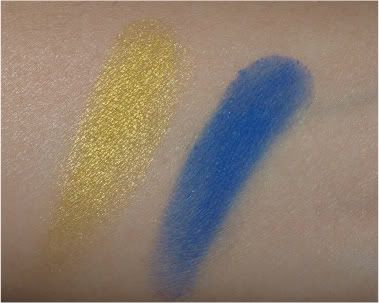
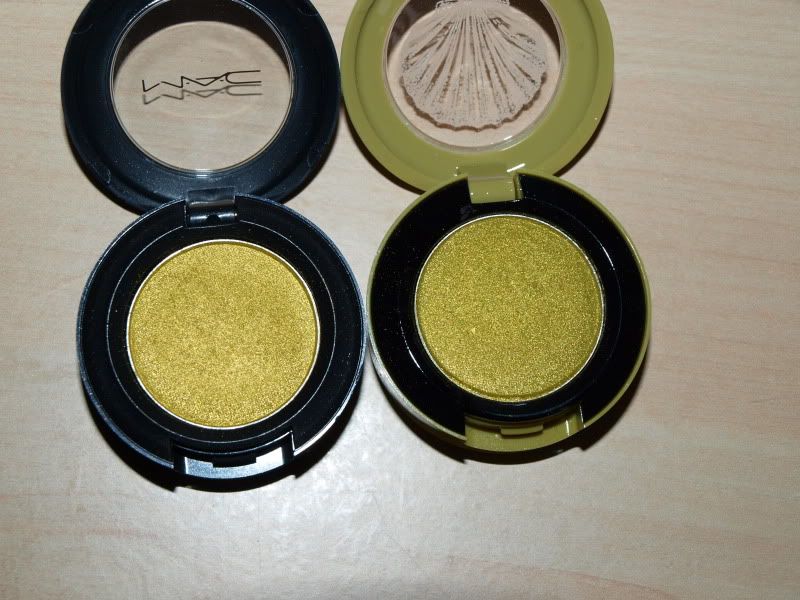
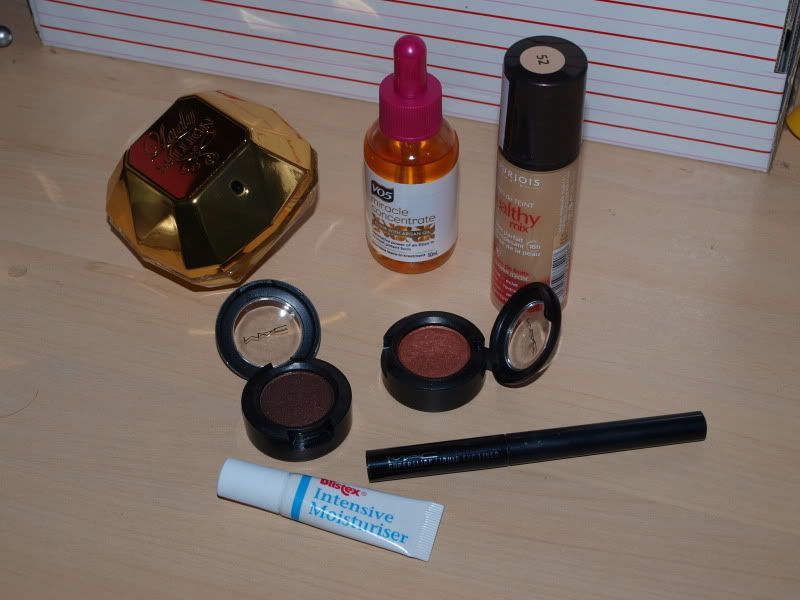
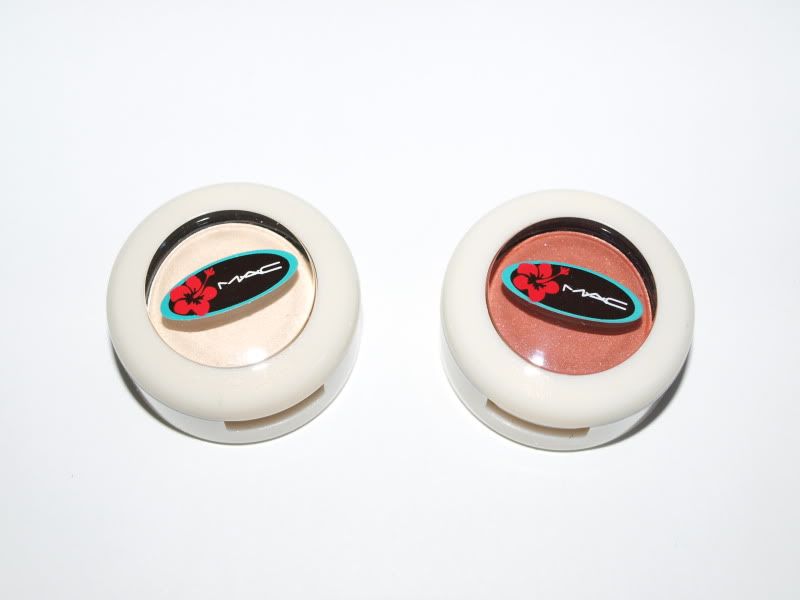
Then I noticed that Debenhams had 10% off beauty. I'd seen swatches of Short Shorts (frost) and Saffron (Satin) and thought they were nice. Whilst at the MAC counter I noticed that the MAs were wearing Sun Blonde with Saffron and I loved it but they didn't have it on display. When I saw the Debenhams sale I ordered them both along with my concealer and correcter which I was running out of.
 |
| L-R: Short Shorts, Saffron |
 |
| L-R: Short Shorts, Saffron |
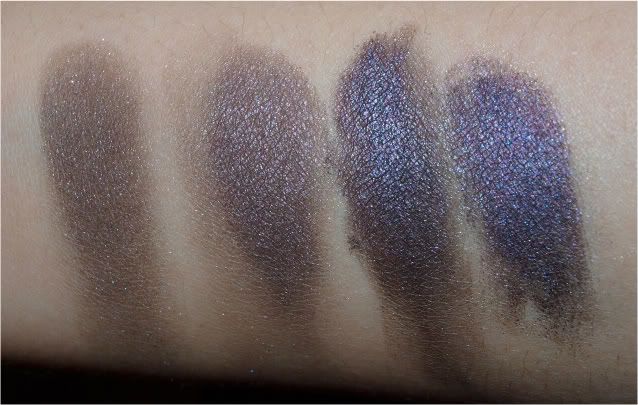
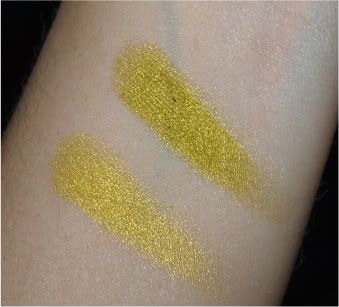
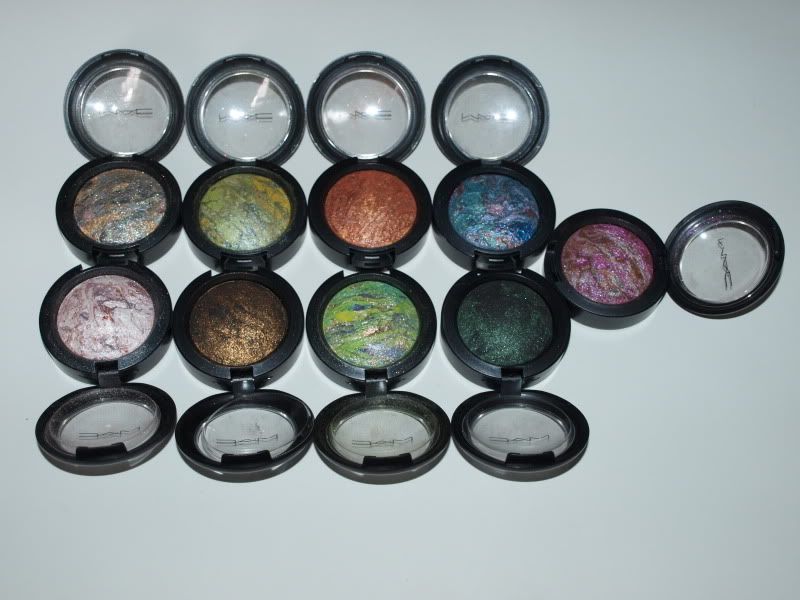
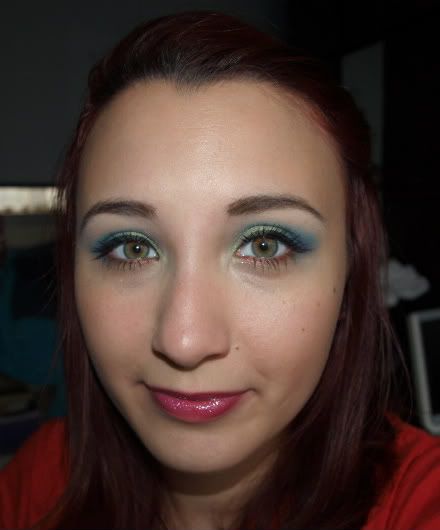
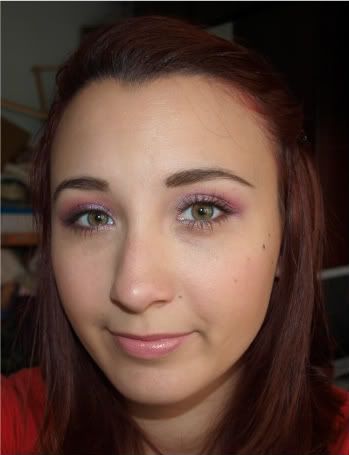
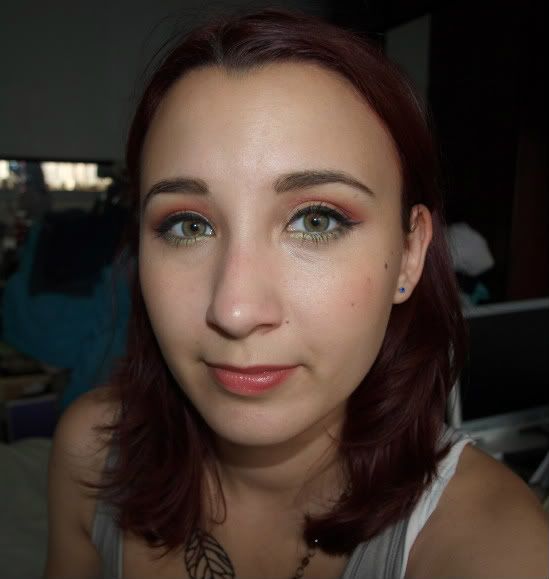
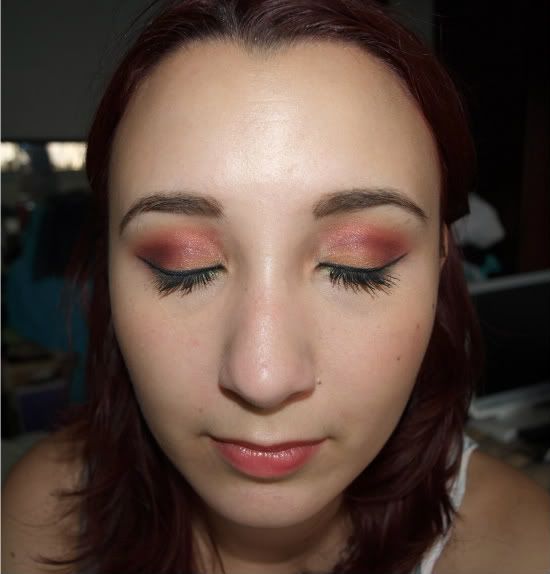
I'm really glad I did because they are beautiful. I can't get over how pigmented the eye shadows in this collection are, they are amazing. I really hope that MAC continue to make them like this from now on. I didn't have a terracotta shade before and I was a bit scared of how it would look on my eyes but it is actually very flattering and versatile. I've used it with Sun Blonde so far which makes a lovely yellow-orange-terracotta gradient. I'd also use it with neutrals, pinks and browns and I think it would be fun to try with blues and greens.
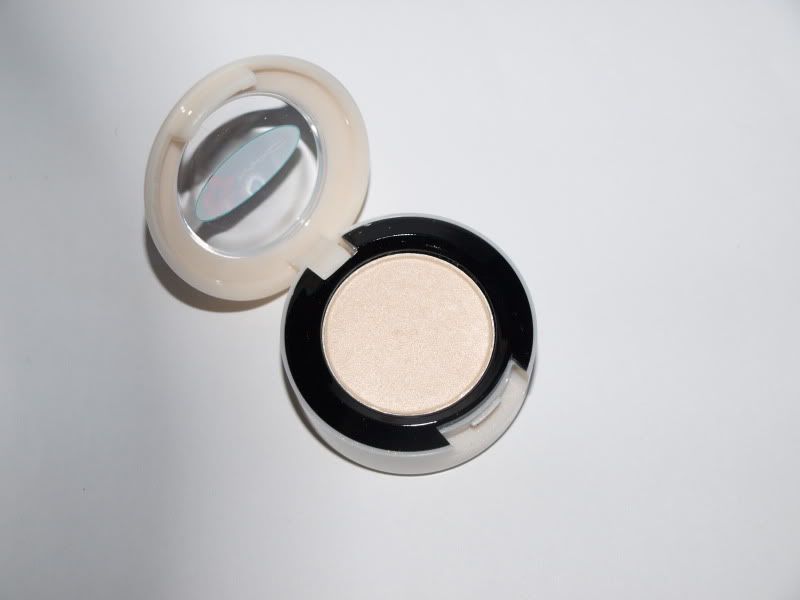 |
| Short Shorts |
 |
| Saffron |
 |
| L-R: Short Shorts, Saffron |
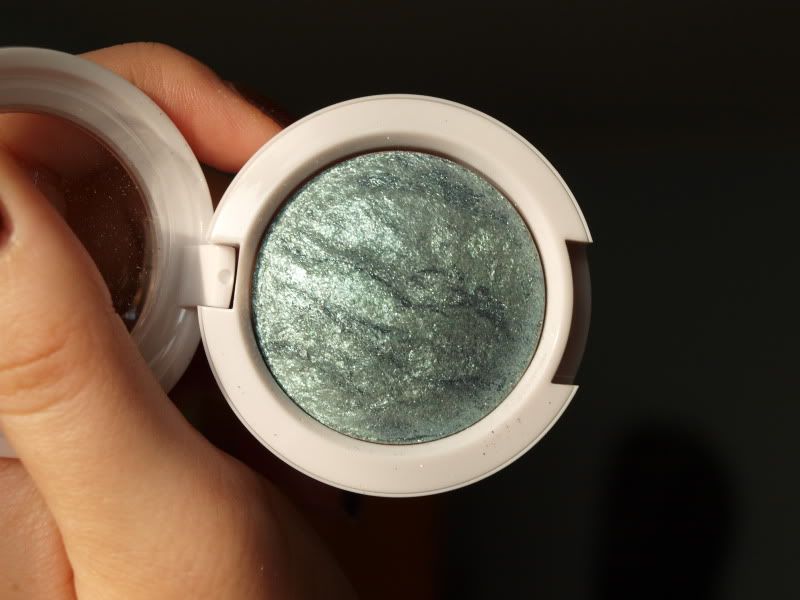
So like I said, I read that you could dupe the gold overspray of My Paradise with Gold Deposit MSF, well I'm not sure. My Gold Deposit hasn't got much veining in it, it is mainly a deep gold copper colour with very little gold in it. I did swatch the gold area against the overspray of My Paradise and they are very very close. If this is what you want to do, I would suggest going to MAC and picking out your own Gold Deposit with the most gold veining and then swatching it against My Paradise to check how it looks. I'm not going to buy another one to use over this blush but the one I have would still look good over it although a little different. You might even be able to find an eye shadow in the same colour to use over the blush instead. Or you could just accept, like me, that once the overspray has gone, it is gone. I might go to buy NARS Luster at a later stage to replace the mixed My Paradise colour and then use My Paradise as just the base colour.
So there you go... a little bit of naughty extra shopping :P hehe!
- Jennifer
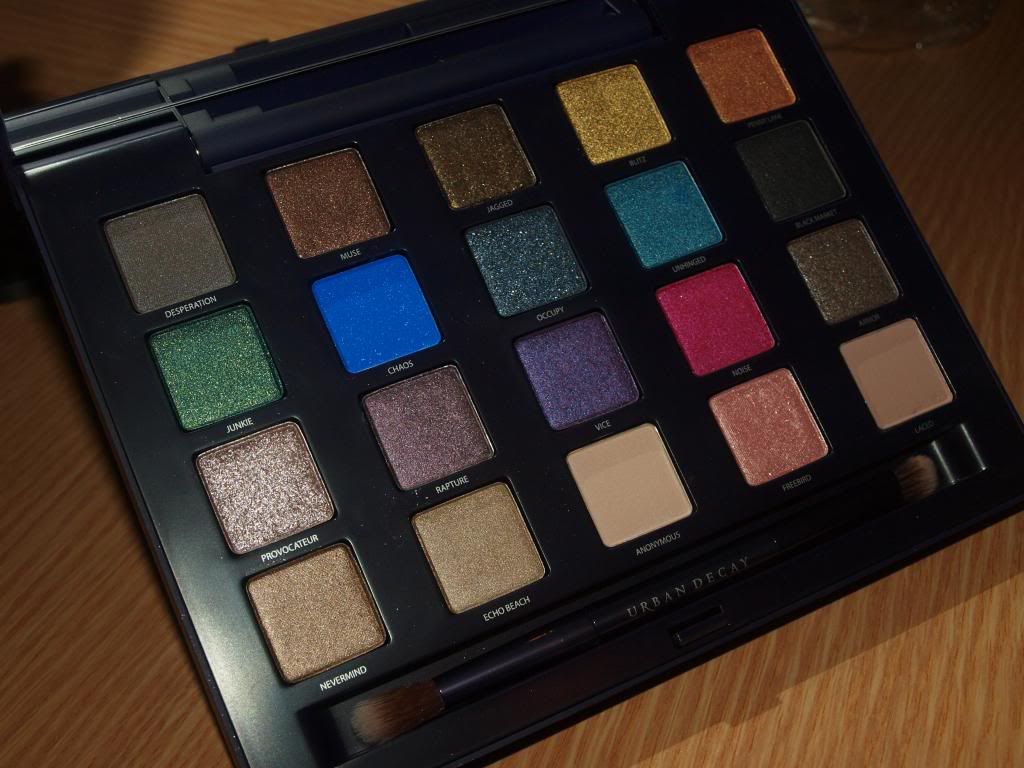
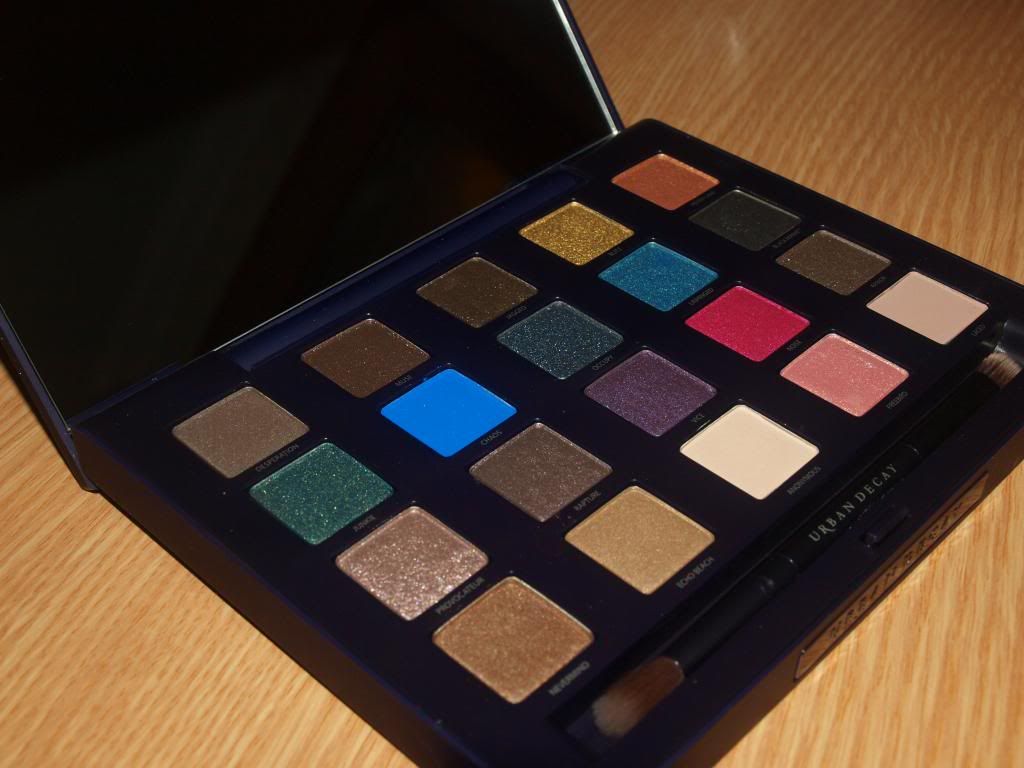 Most makeup lovers will have at least one Urban Decay palette in their collection, they are so popular - especially their Naked palette. Now, if you are someone who likes their neutrals but also playing with brights, you need to get this one. It is fantastic. Really.